AWS Amplify
Amplifyは、ウェブサイトのデプロイを簡素化する完全に管理されたサービスです。多くのタスクを自動化します。
はじめに
このチュートリアルでは、staticウェブサイトを作成し、それをリポジトリに配置して、
変更を加えるたびにリポジトリへプッシュすることで、自動的に変更が反映されてデプロイされる仕組みを作ります。
💡 AWS CodeCommit はサービス終了となったため、本チュートリアルでは GitHub の外部 Git リポジトリを使用します。
前提条件
レポジトリ作成
CLIよりレポを作成するか、github UIで作成してローカルにcloneするか
bobby@my-fcking-pc:~/Desktop$ gh repo create # (1)!
? What would you like to do? Create a new repository on GitHub from scratch
? Repository name static-website
? Description
? Visibility Public
? Would you like to add a .gitignore? Yes
? Choose a .gitignore template Python
? Would you like to add a license? No
? This will create "static-website" as a public repository on GitHub. Continue? Yes
✓ Created repository BobbyTumur/static-website on GitHub
? Clone the new repository locally? Yes
Cloning into 'static-website'...
remote: Enumerating objects: 3, done.
remote: Counting objects: 100% (3/3), done.
remote: Compressing objects: 100% (2/2), done.
remote: Total 3 (delta 0), reused 0 (delta 0), pack-reused 0 (from 0)
Receiving objects: 100% (3/3), done.
-
CLIの場合は、事前に以下を設定する必要があります。
bobby@my-fcking-pc:~/Desktop$ apt install gh
bobby@my-fcking-pc:~/Desktop$ gh auth login
? What account do you want to log into? GitHub.com
? What is your preferred protocol for Git operations? SSH
? Upload your SSH public key to your GitHub account? /home/bobby/.ssh/id_rsa_github.pub
? How would you like to authenticate GitHub CLI? Login with a web browser

! First copy your one-time code: 11A4-E9A0
- Press Enter to open github.com in your browser...
Opening in existing browser session.
✓ Authentication complete. Press Enter to continue...
-
github.com/new にてリポジトリを作成
-
上記で作成したレポジトリをクローン
bobby@my-fcking-pc:~/Desktop$ git clone git@github.com:BobbyTumur/static-website.git
Cloning into 'static-website'...
remote: Enumerating objects: 23, done.
remote: Counting objects: 100% (23/23), done.
remote: Compressing objects: 100% (16/16), done.
remote: Total 23 (delta 4), reused 21 (delta 2), pack-reused 0 (from 0)
Receiving objects: 100% (23/23), 4.07 KiB | 2.04 MiB/s, done.
Resolving deltas: 100% (4/4), done.
静的ウェブ作成
メモ
本ウェブサイトはMkdocs-material を使用していますが、任意で好きな HTML を使うことも可能です。 MkDocs を使えば、Markdown を書くだけで見栄えの良いドキュメントサイトを簡単に作成できます。 これから紹介する手順を実施すれば、あなたもこのようなウェブサイトを作れるようになります。💪
-
Pythonバーチャル環境
-
ウェブサイト作成
(.venv) $ mkdocs new . INFO - Writing config file: ./mkdocs.yml INFO - Writing initial docs: ./docs/index.md (.venv) $ cat >> mkdocs.yml # (1)! theme: language: ja name: material (.venv) $ mkdocs serve INFO - Building documentation... INFO - Cleaning site directory INFO - Documentation built in 0.29 seconds INFO - [23:43:12] Watching paths for changes: 'docs', 'mkdocs.yml' INFO - [23:43:12] Serving on http://127.0.0.1:8000/- このラインだけ実行し、以下の3ラインをコピペして
Ctrl+Dにてexit
127.0.0.1:8000 これでブラウザを起動させてください。
Mkdocsのmaterialテーマのディフォルトページが開きます。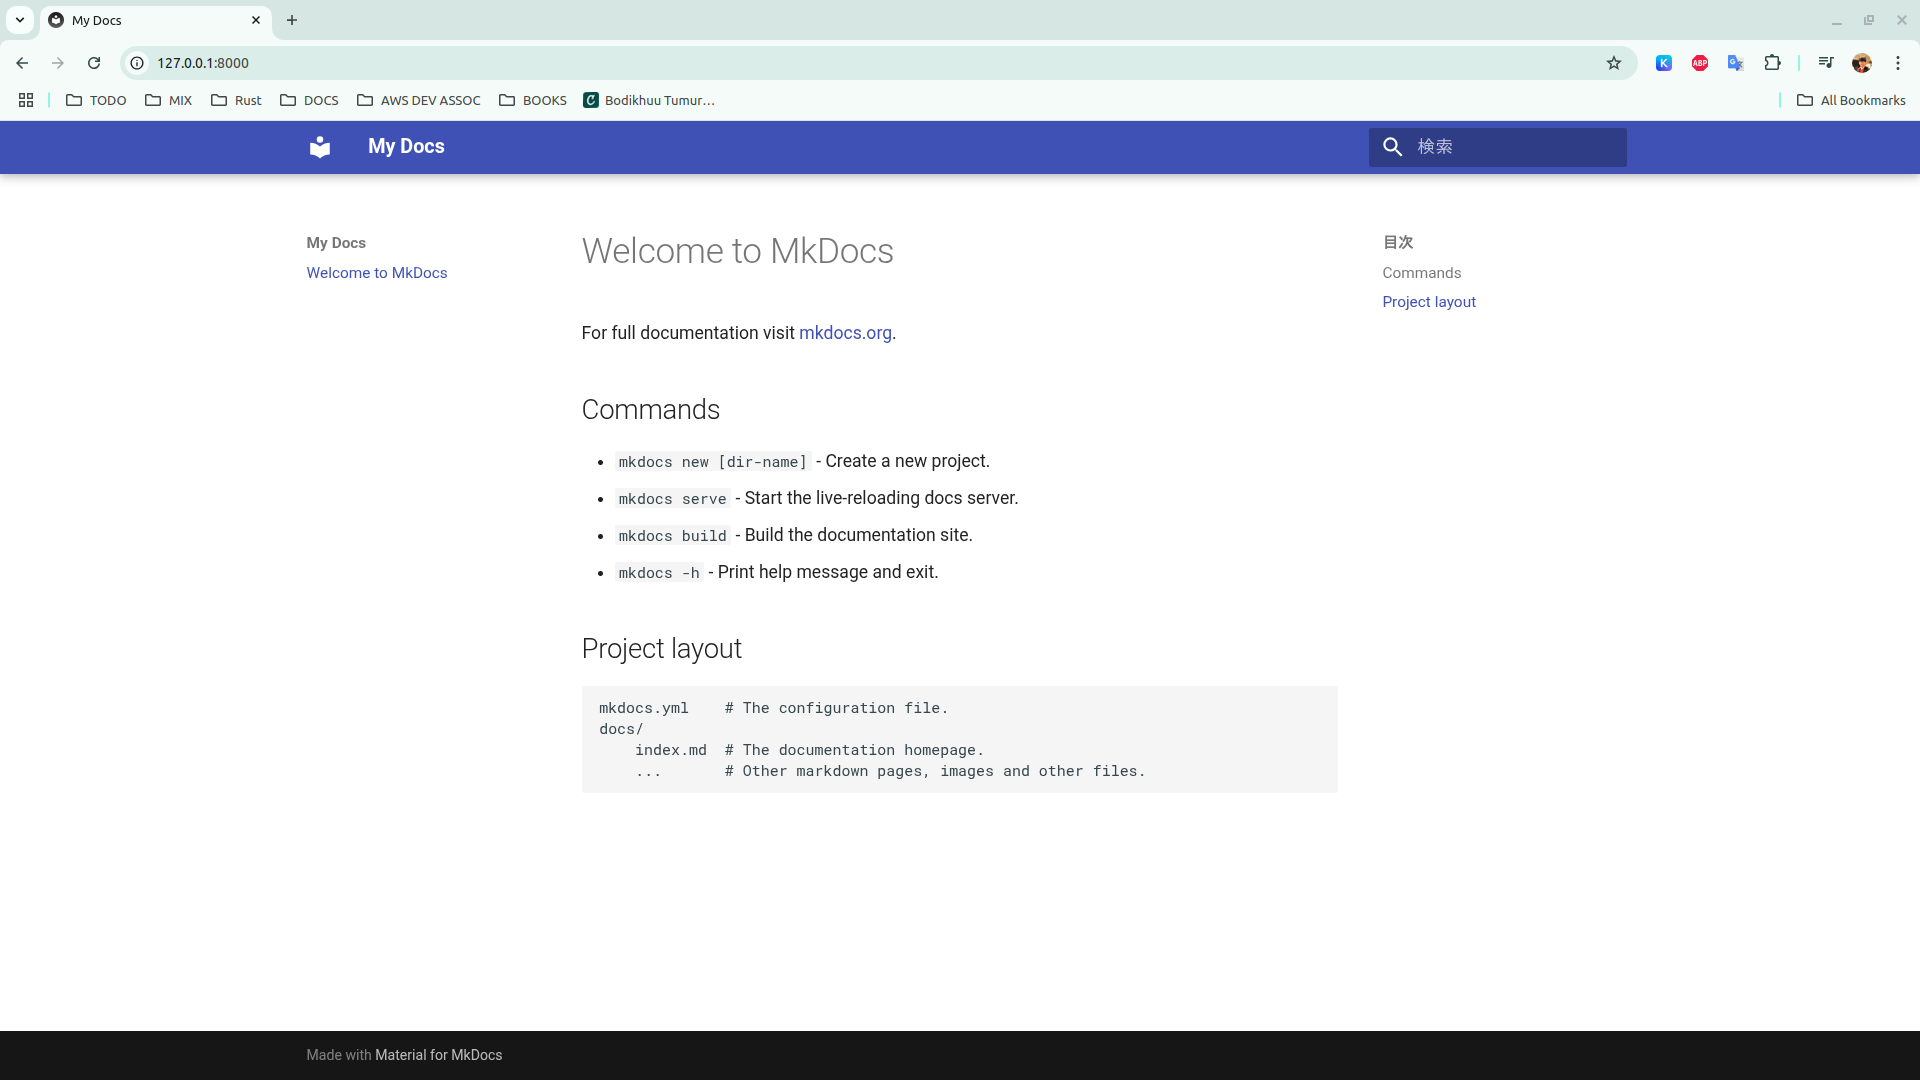
- このラインだけ実行し、以下の3ラインをコピペして
レポジトリへプッシュ
bash
(.venv) $ git add .
(.venv) $ git commit -m "Initial commit"
[main 407086e] Initial commit
 3 files changed, 24 insertions(+)
 create mode 100644 docs/index.md
 create mode 100644 mkdocs.yml
 create mode 100644 requirements.txt
(.venv) $ git push
Enumerating objects: 7, done.
Counting objects: 100% (7/7), done.
Delta compression using up to 12 threads
Compressing objects: 100% (4/4), done.
Writing objects: 100% (6/6), 773 bytes | 773.00 KiB/s, done.
Total 6 (delta 0), reused 0 (delta 0), pack-reused 0
To github.com:BobbyTumur/static-website.git
   28ff403..407086e  main -> main
完了🔥🔥🔥
これで一通りstaticウェブサイトが作成され、Gitレポへプッシュされました。
続いてAmplifyでデプロイしましょう。😉